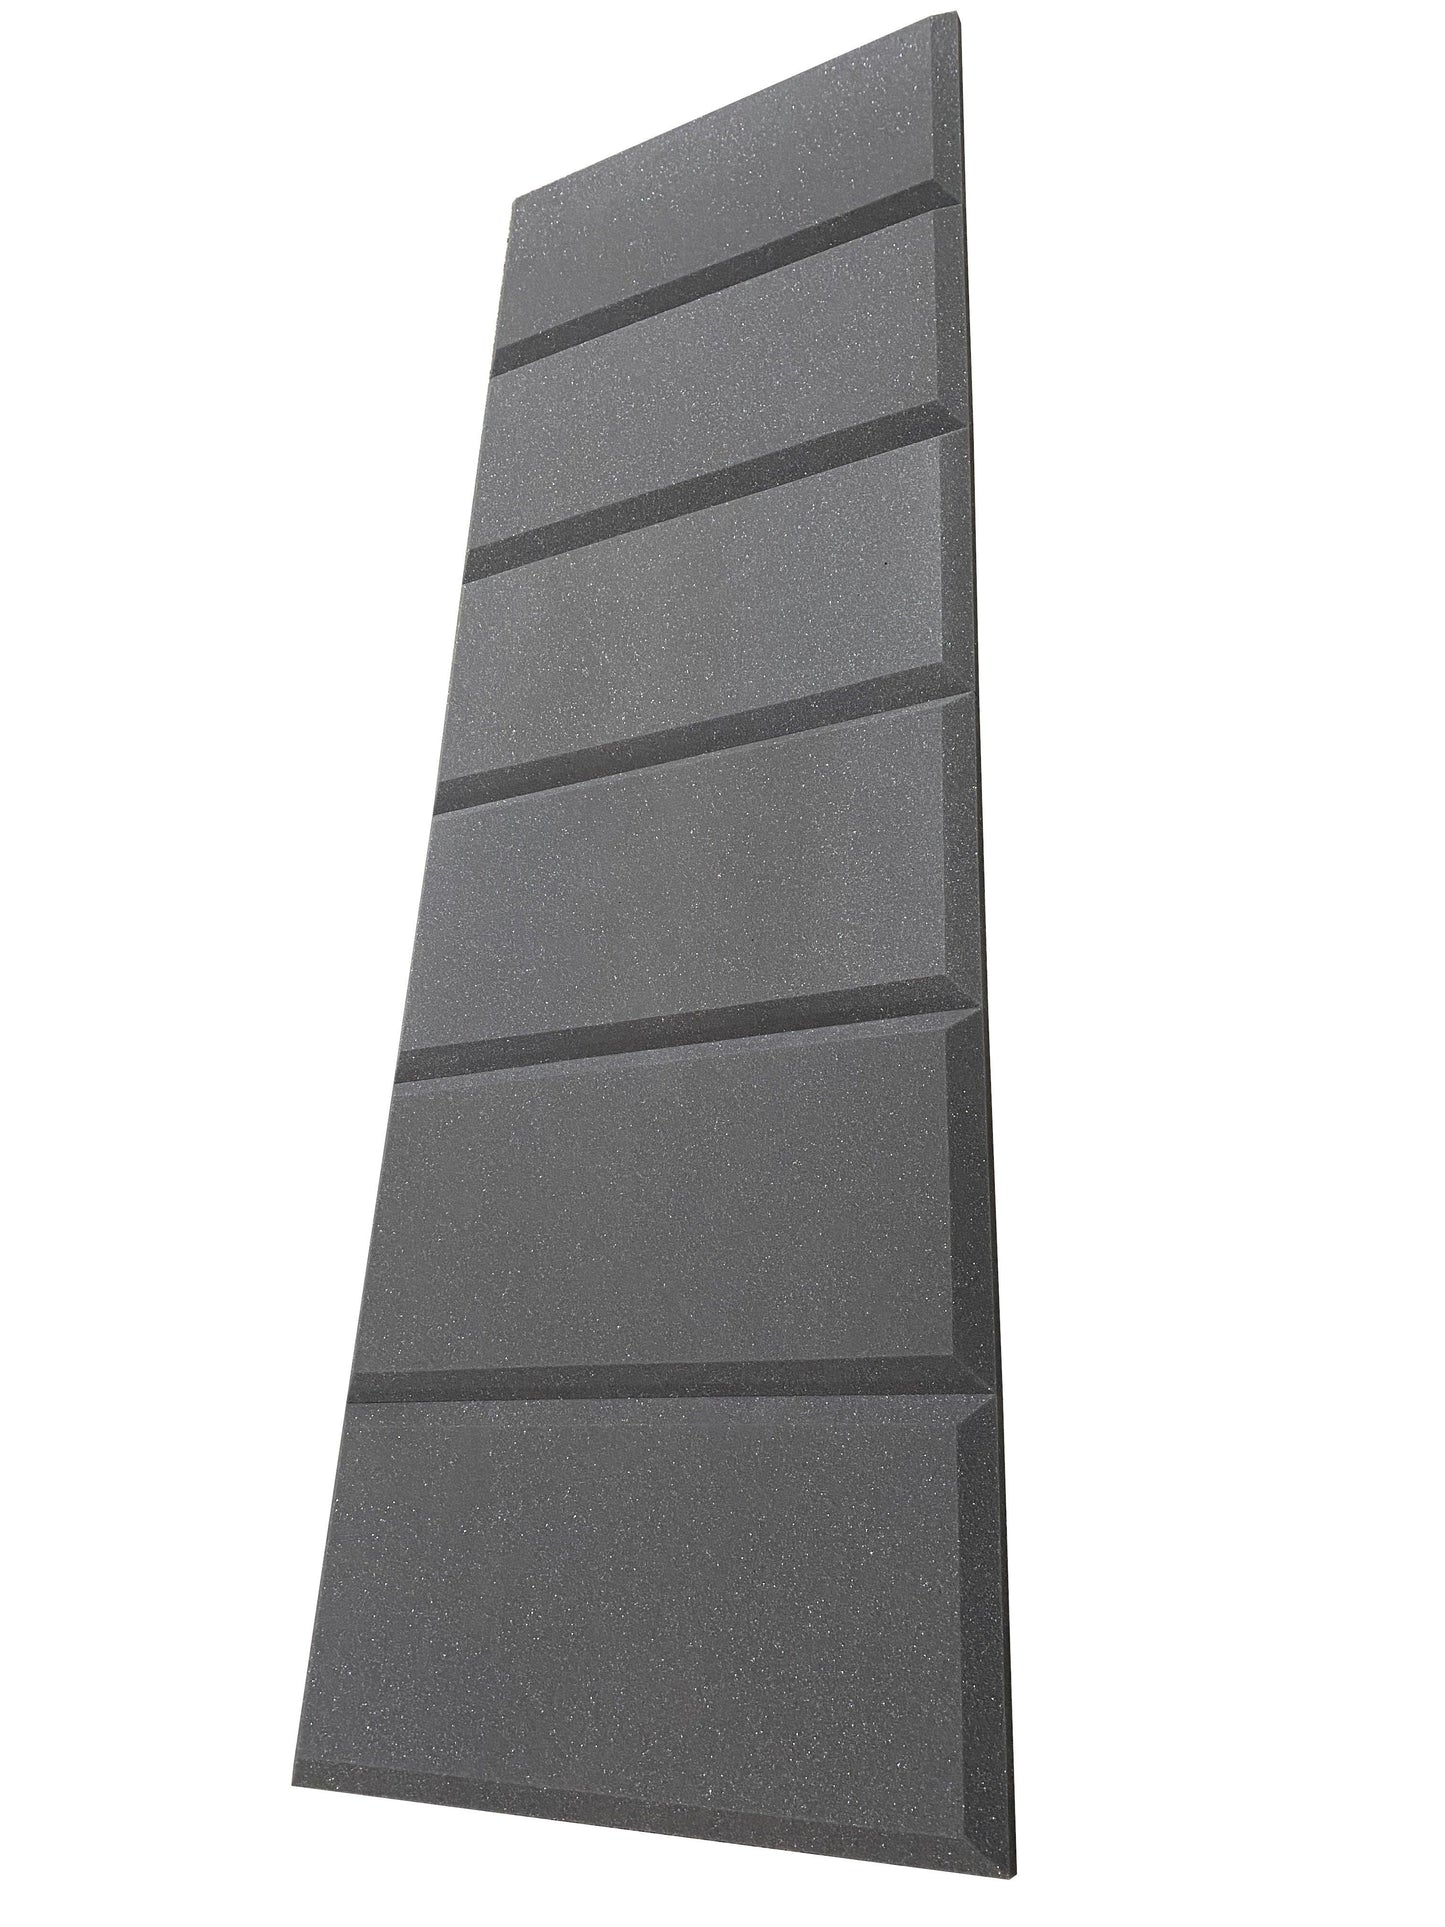
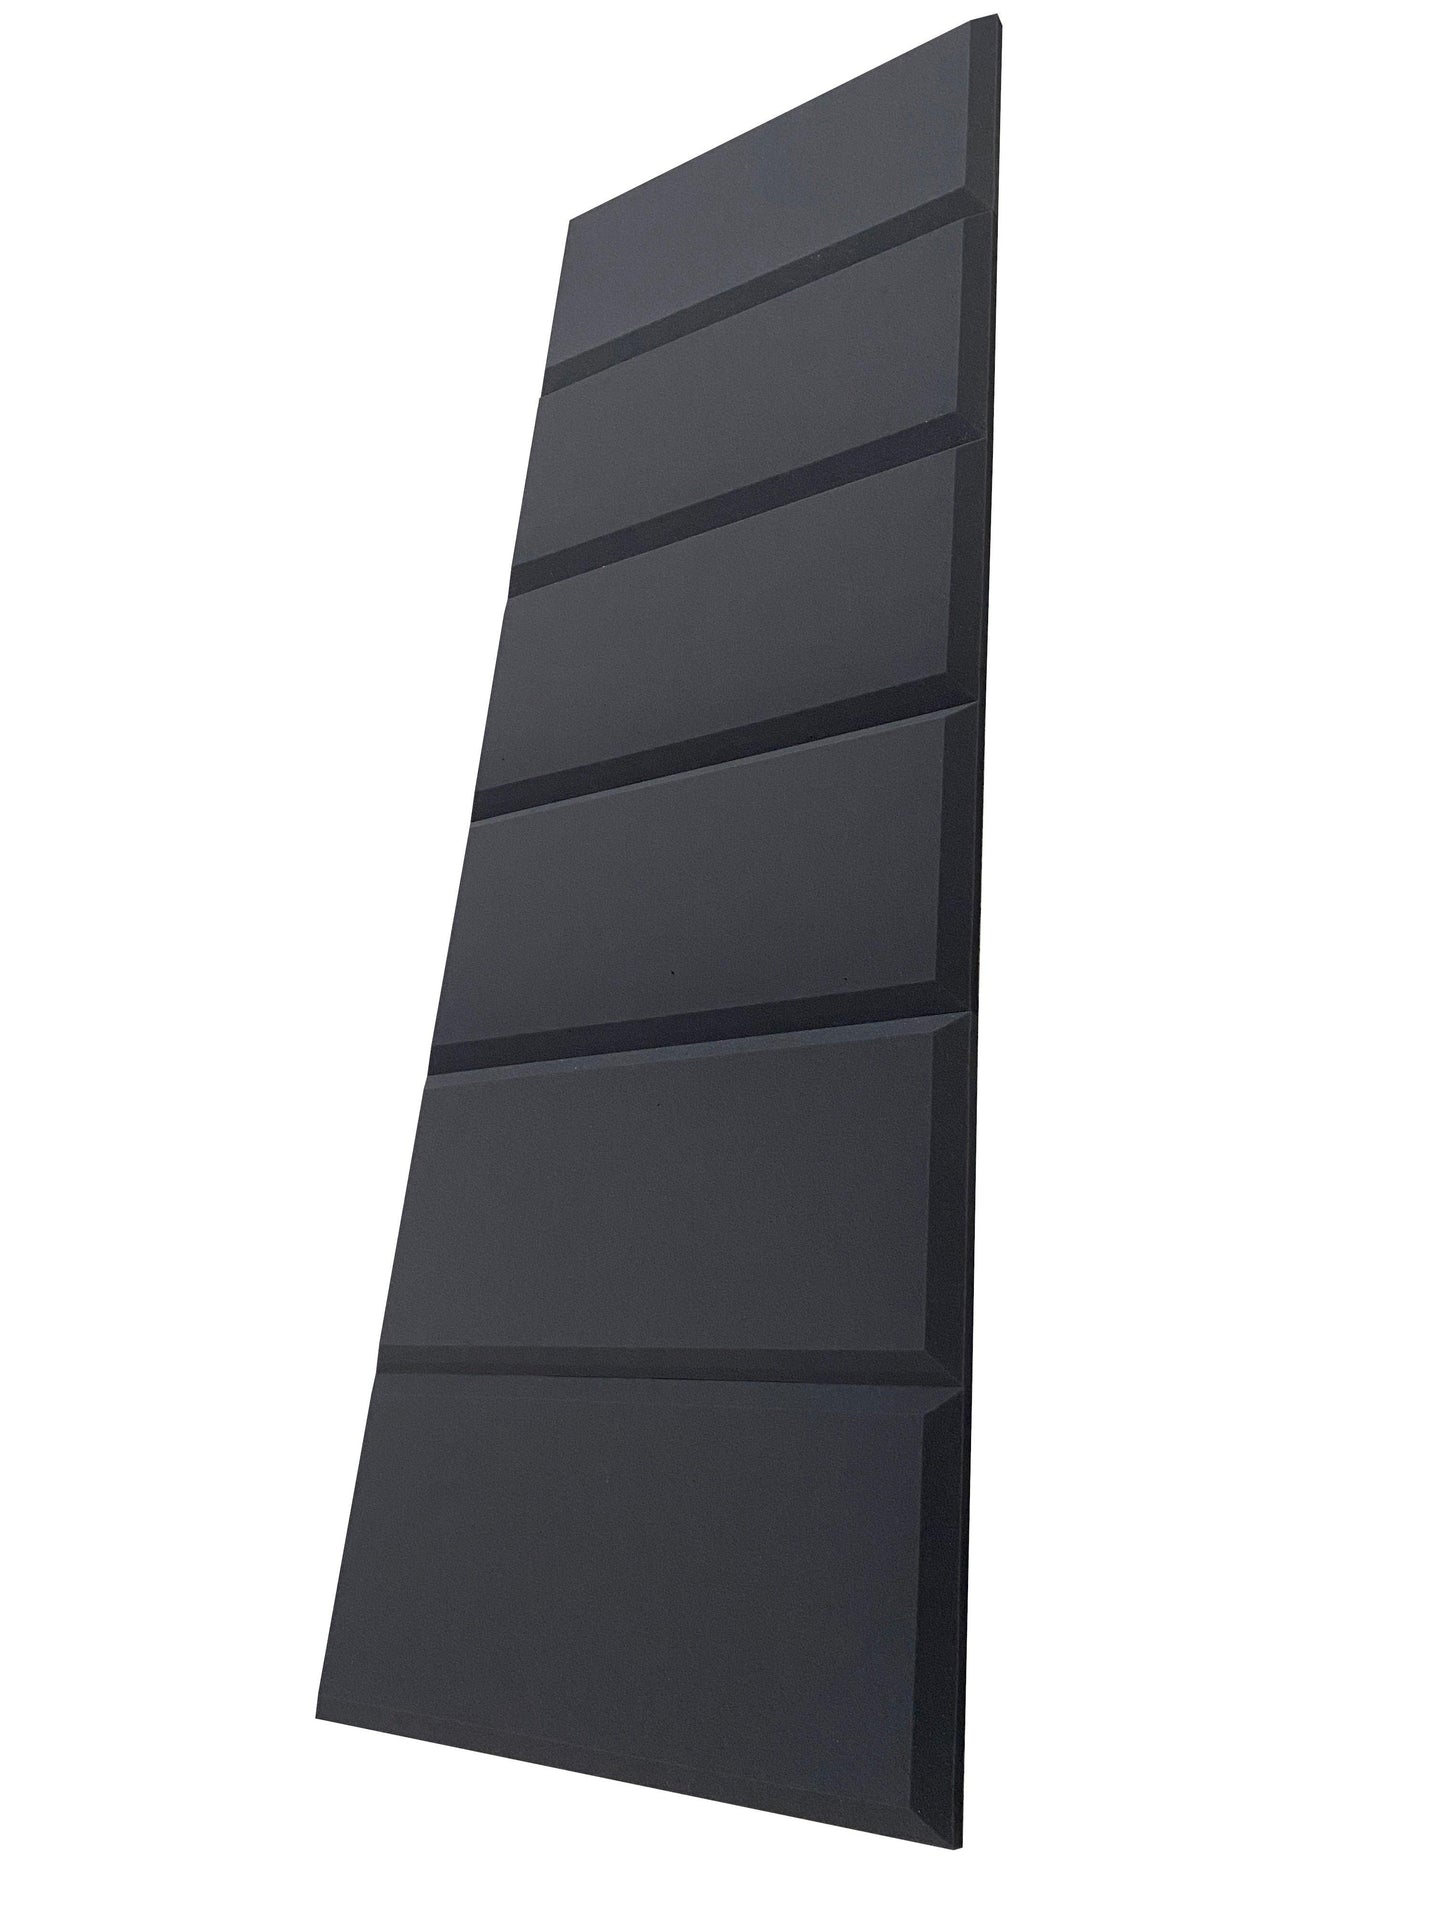
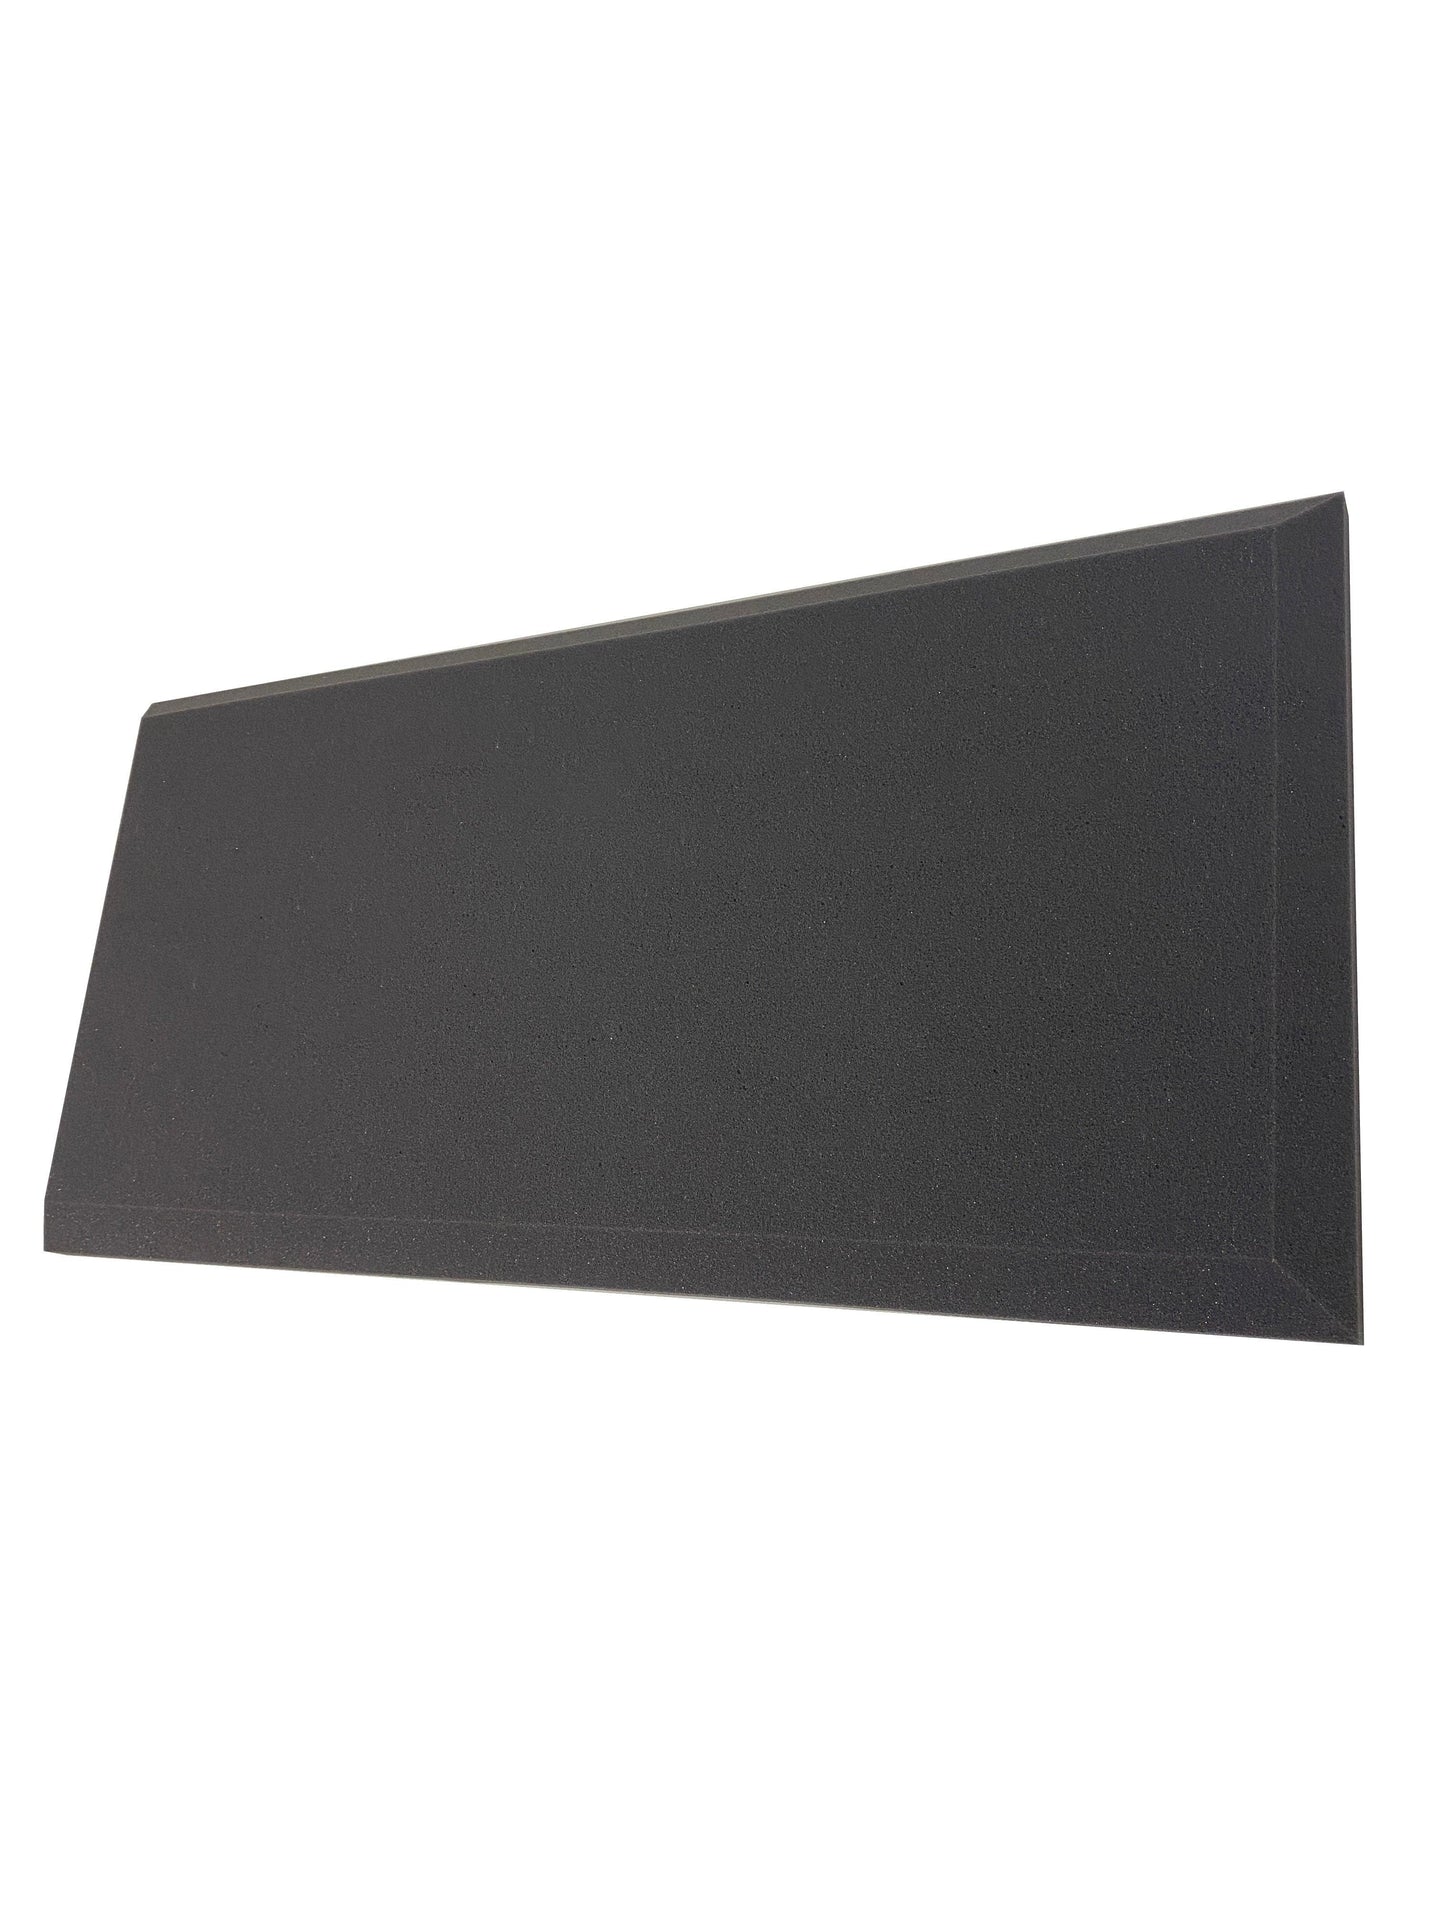
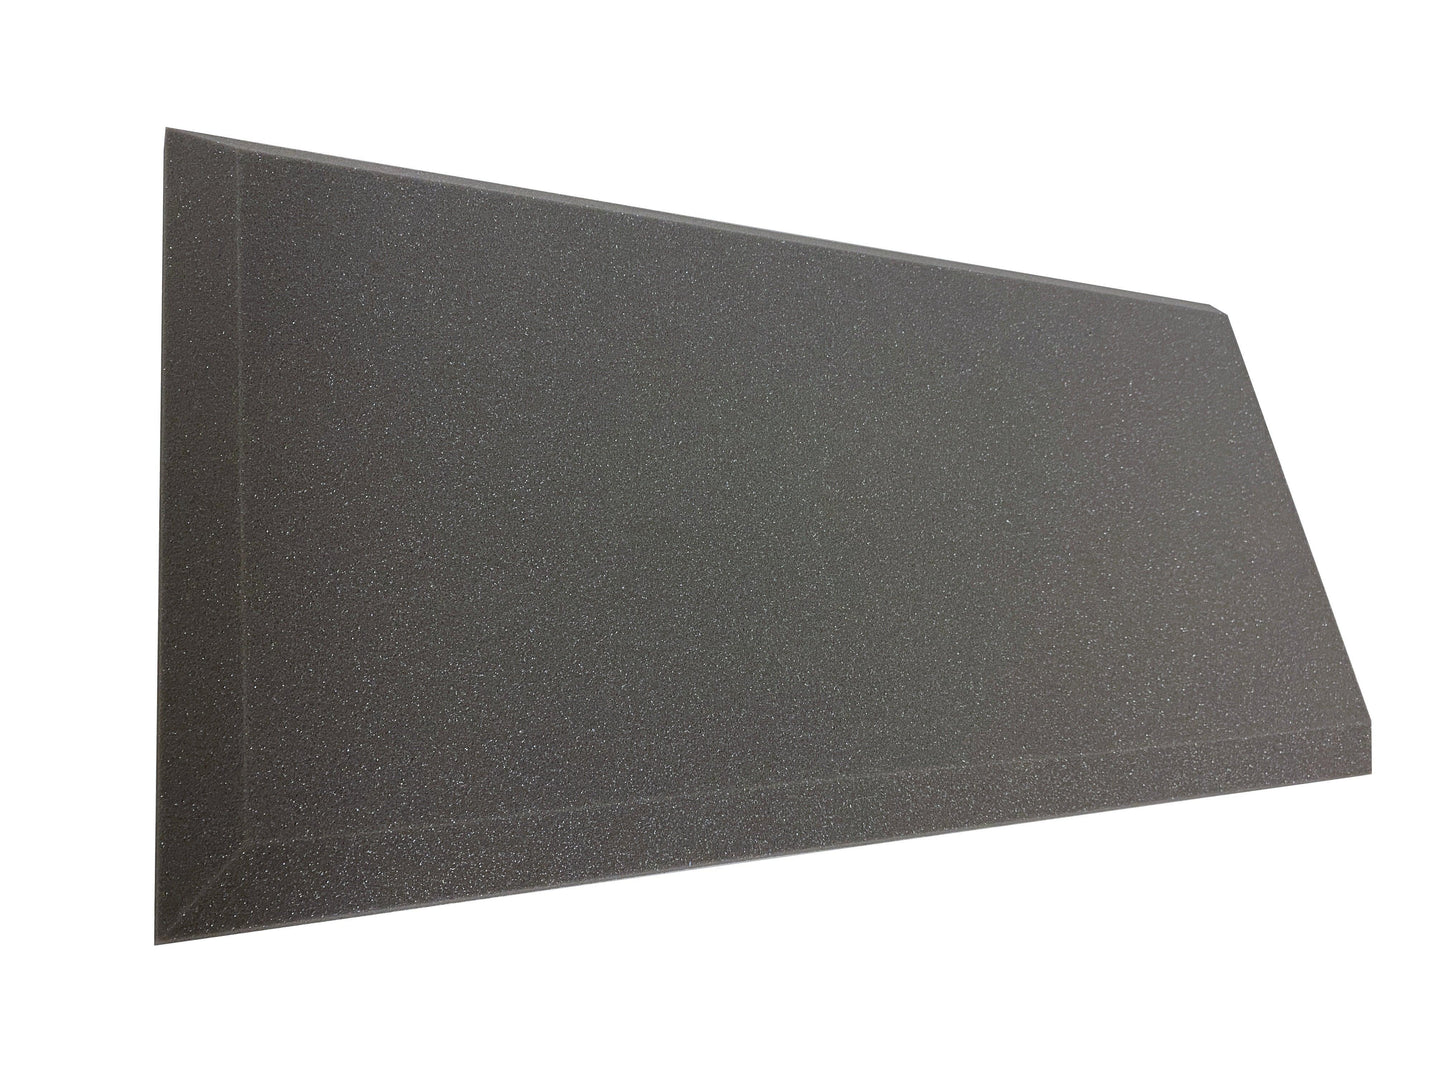
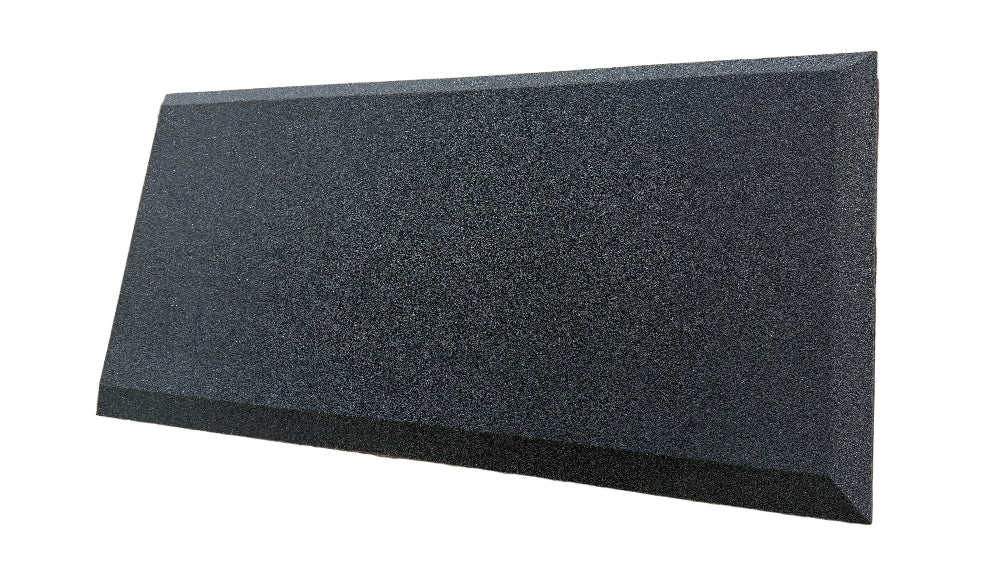
Golf Simulator Wall & Ceiling Protection Panels Rectangle 305x610x50mm - 4.09sqm Pack
Golf Simulator Wall & Ceiling Protection Panels Rectangle 305x610x50mm - 4.09sqm Pack
Couldn't load pickup availability
What's in the Box
- 📦 22 tiles per box
- 📐 Each tile: 305mm x 610mm x 50mm thick
- 📏 Coverage per box: 4.09 m²
How many packs do you need?
Enter your room dimensions and we'll calculate the exact number of packs, singles, and adhesive for your space.
Takes less than 60 seconds · adds everything to your cart
What These Panels Protect
- ✅ Walls and ceiling from direct ball strikes
- ✅ Reduces ball rebound and noise in the room
- ✅ Protects against repeated impact over time
Installation in 3 Simple Steps
Complete Your Kit
Don't forget the adhesive — panels won't stay put without it.
💡 Not sure how many tins? The Panel Calculator works it out for you and adds everything to your cart.
Where to Use Rectangular Panels in a Golf Simulator Room
The 305mm x 610mm rectangular format is ideal for creating tidy, continuous coverage on side walls and ceiling areas where stray shots can glance off or travel higher than expected. The narrower width makes it easy to build clean, straight runs along the length of a room, which helps keep the finished install looking professional and consistent. These panels are a strong choice for shank zones (the side wall closest to the hitting position) and for protecting areas around doors, corners, or any wall sections you want to keep looking fresh.
Planning Your Layout and Coverage
Start by measuring the side wall sections you want to protect (length and height). A complete install typically covers:
- Both side walls (full height)
- Ceiling coverage above and forward of the hitting area (full depth)
For a neat finish, plan a simple grid and keep edges aligned, or crate a brickbond effect. If you need to work around sockets, trunking, or wall-mounted kit, the rectangular shape is straightforward to trim with a sharp utility knife.
Installation Tips for Best Results
Clean the wall/ceiling surface thoroughly (dry cloth first; degrease if needed) so the adhesive bonds properly. Use a laser level or chalk line to keep the first row straight — everything else follows from that. Apply the recommended spray adhesive evenly, then press each panel firmly into place. Once positioned, avoid repositioning so the bond stays strong.
Common Questions About Rectangular Panels
- Q: Should I mix different tile sizes on the same wall?
A: For the cleanest finish, it's best to keep one tile size per surface (e.g., one size on a wall, a different size on the ceiling). Mixing sizes on the same wall can make alignment and edge finishing harder. - Q: What if my wall has outlets or switches?
A: Measure carefully and trim around them. Leaving a small clearance around fixtures is normal. - Q: How much coverage do I need?
A: A full simulator bay install covers both side walls and the ceiling zone above/forward of the hitting area. Why not use use the Panel Calculator to work out exact quantities for your space.
Shipping Information
Shipping Information
Your order will be delivered in 100% recyclable packaging, uncompressed and ready for immediate installation. We stock all products for quick dispatch and offer same-day shipping on orders placed before 2 pm, ensuring next-day delivery. As a UK-based company, we provide swift and efficient customer service.
Installation
Installation
Installation is hassle-free with our recommended spray adhesive, ensuring a clean and stress-free setup. The panels are also easy to trim to size for a perfect fit.
Returns
Returns
Order with confidence from Advanced Sims, knowing that we uphold the highest standards. If for any reason you’re not completely satisfied, return your products within 30 days in their original packaging and unused condition for a full refund.