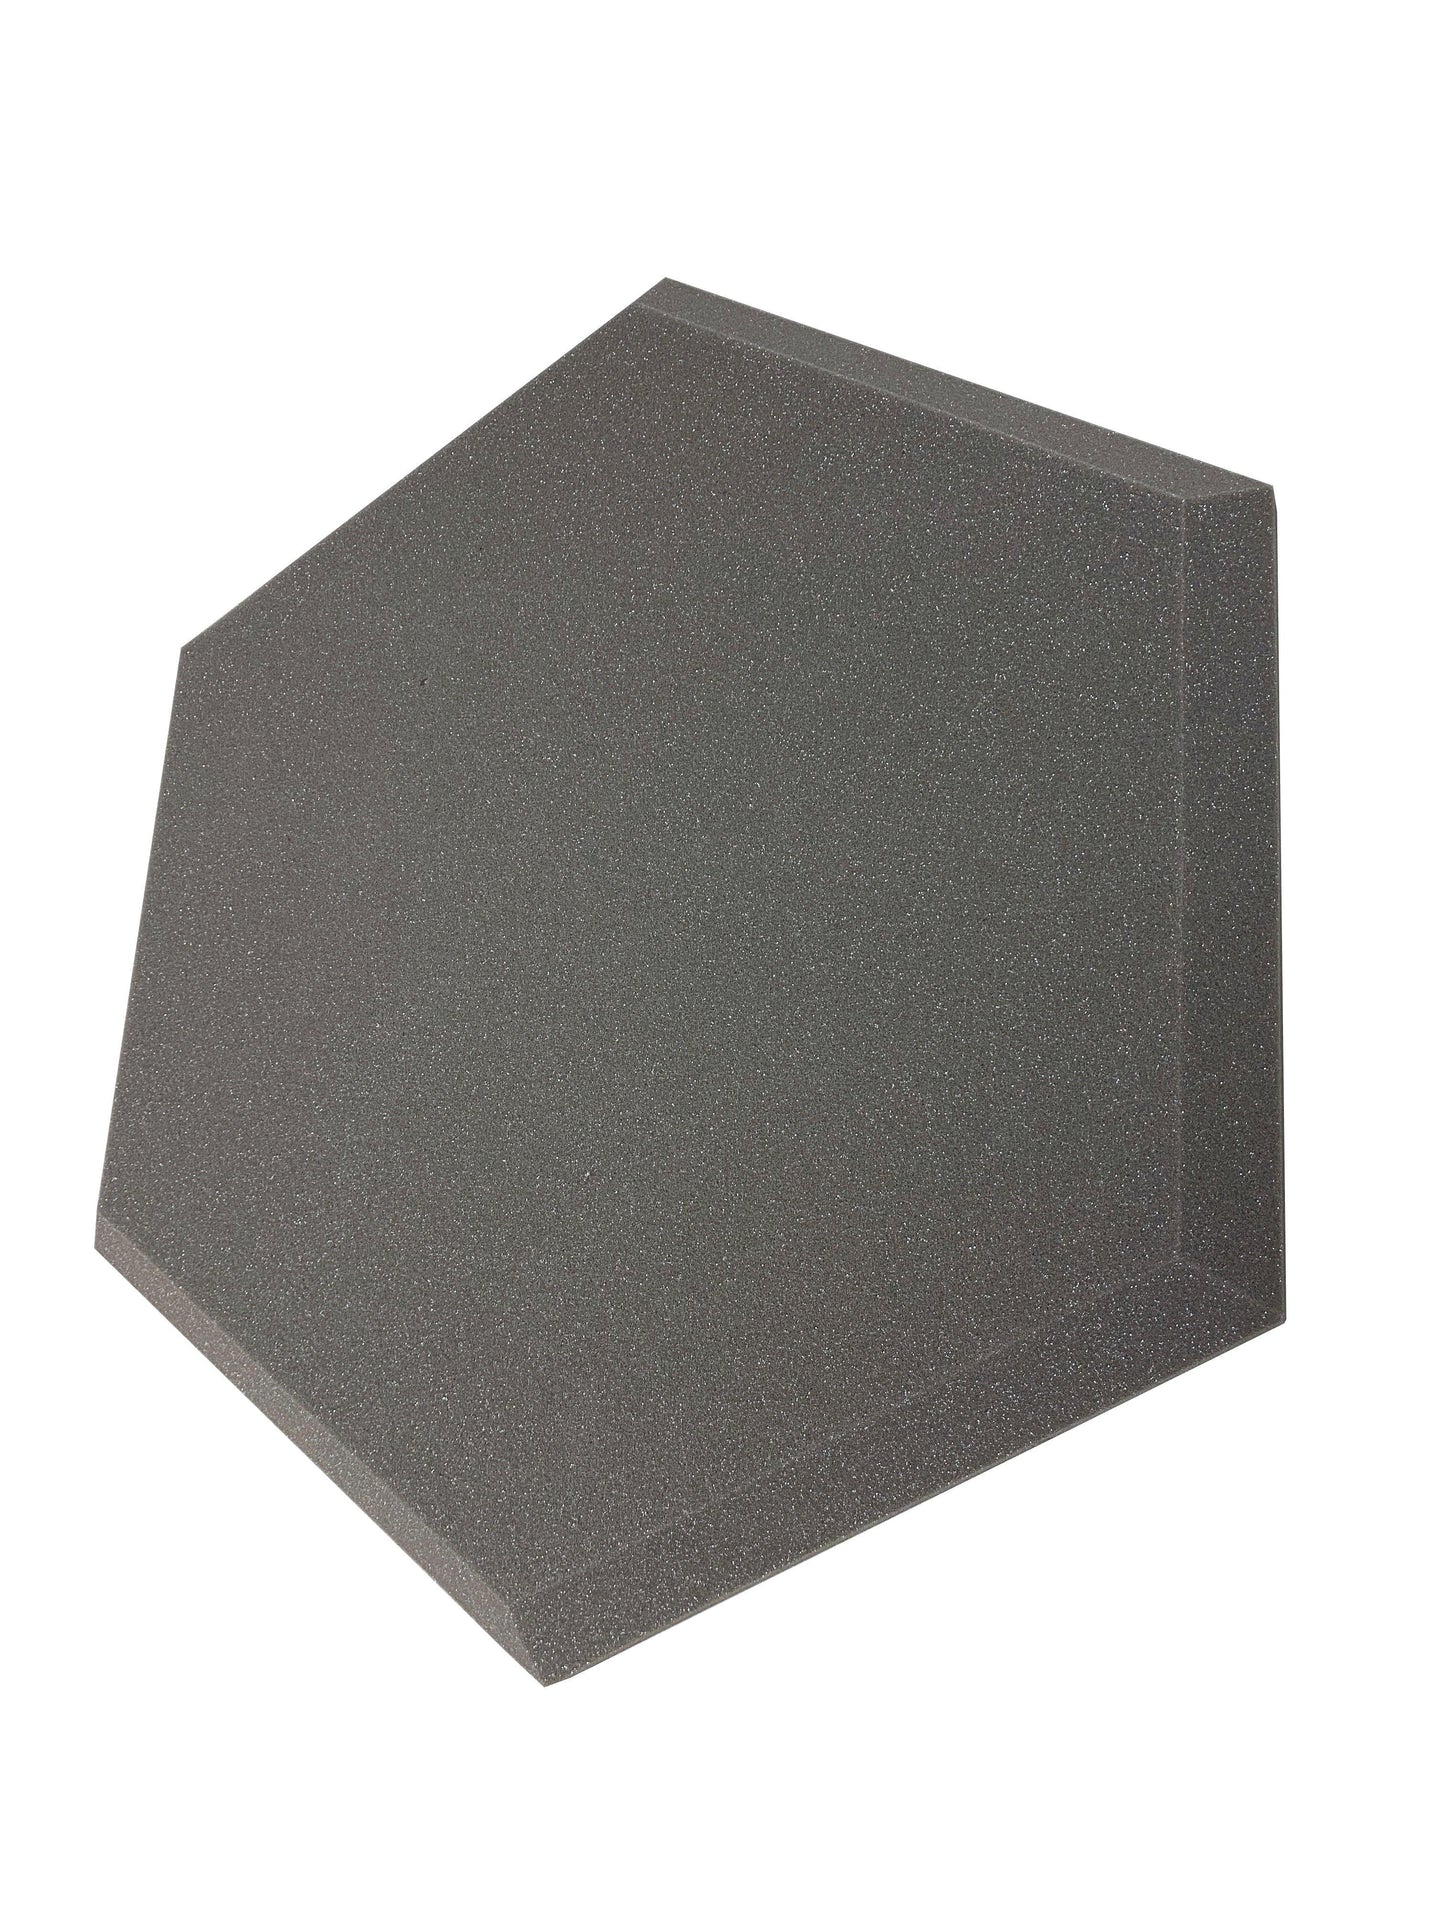
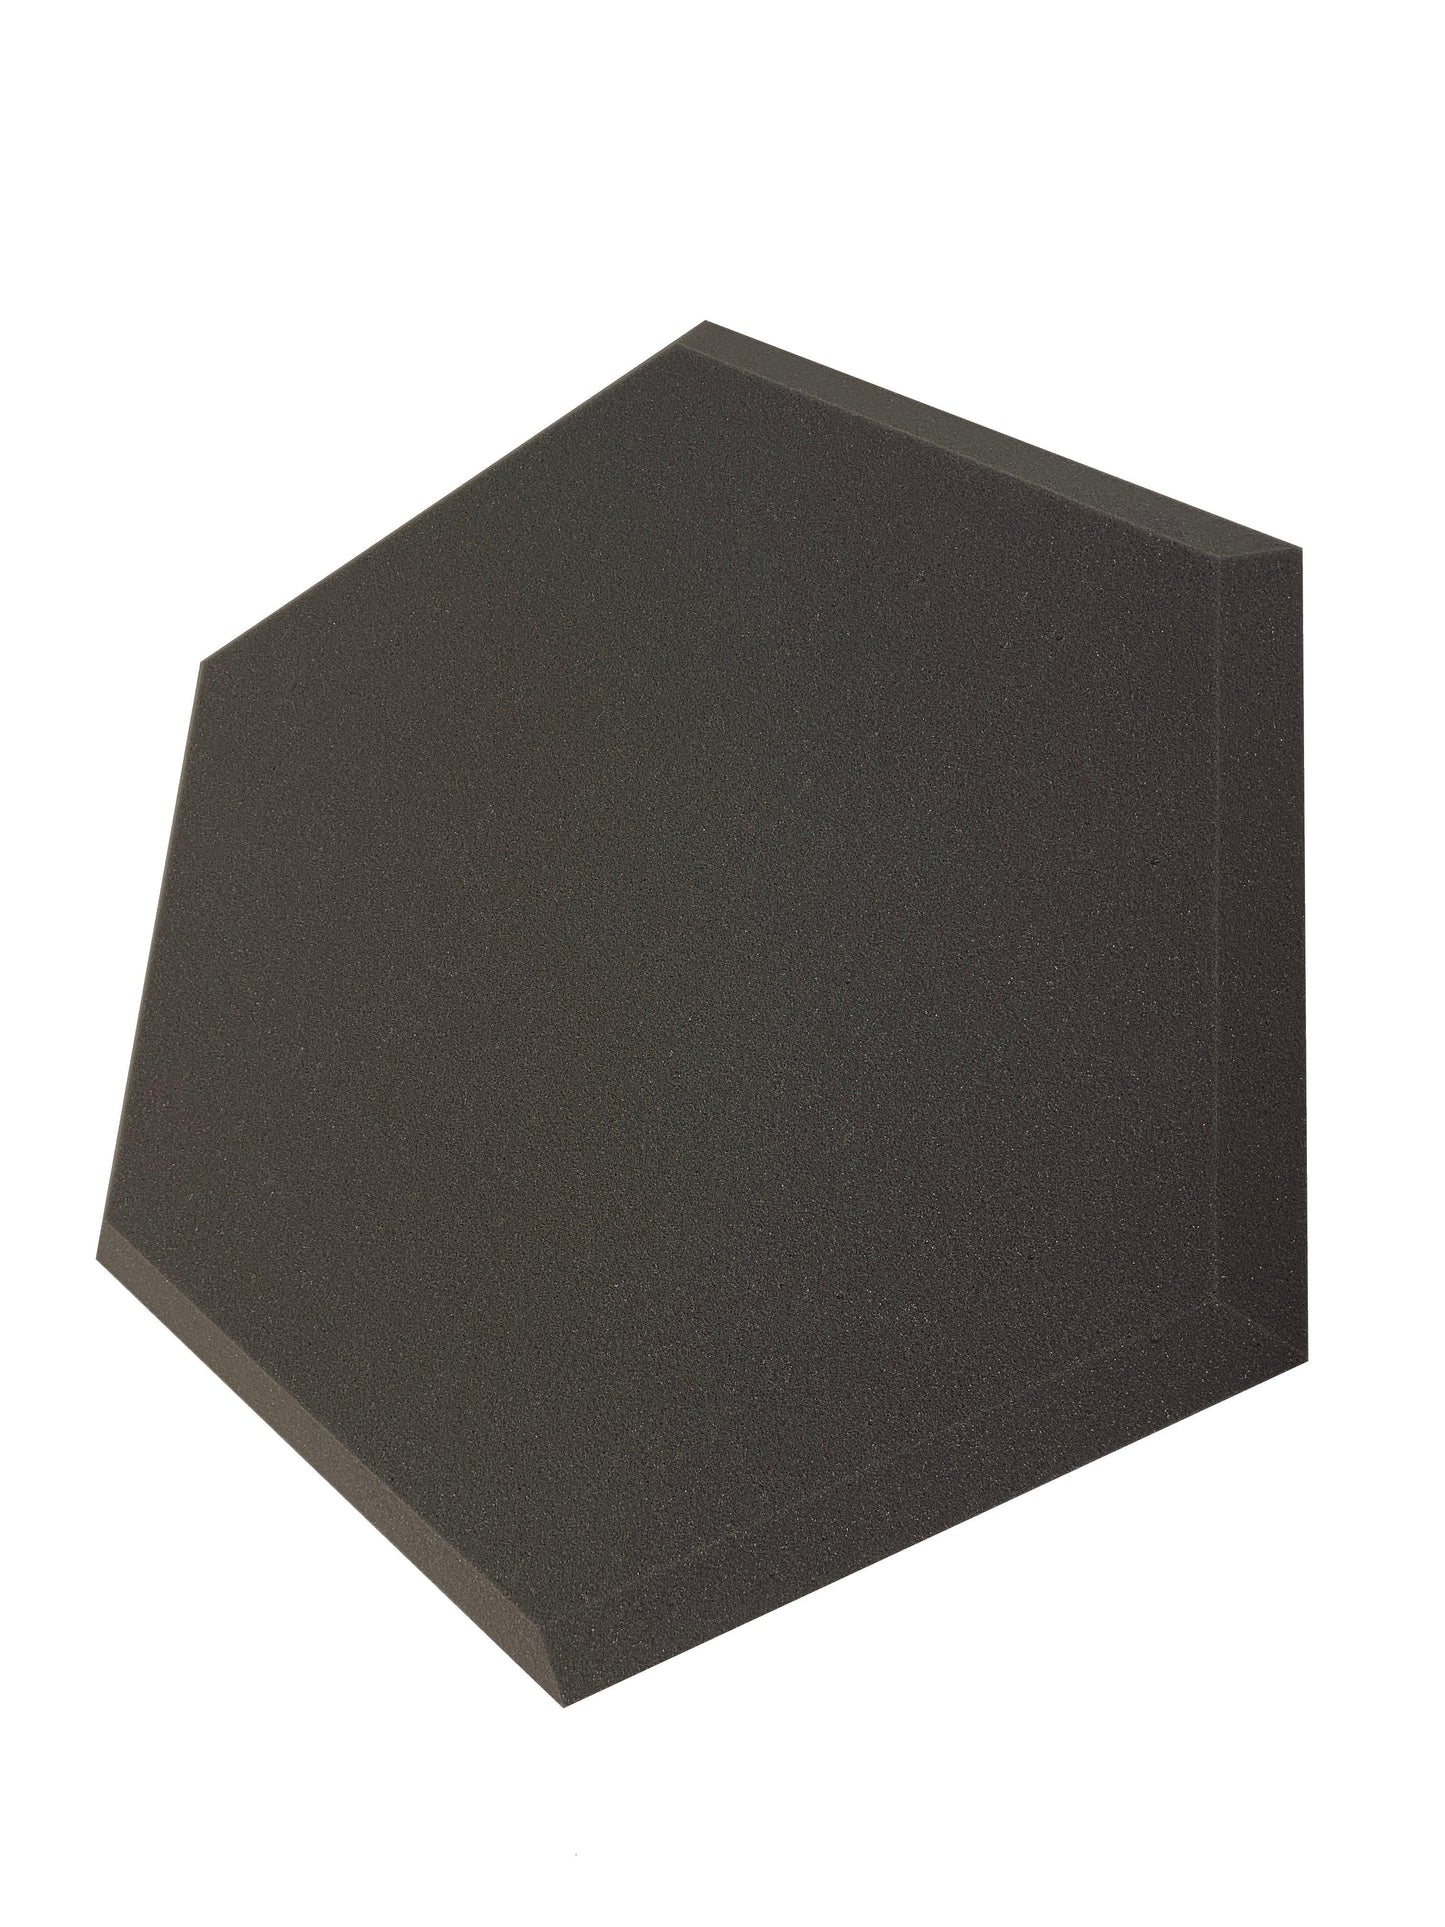
530mm x 610mm Hexagon Golf Simulator Wall and Ceiling Foam Panels - 2.88sqm Pack
530mm x 610mm Hexagon Golf Simulator Wall and Ceiling Foam Panels - 2.88sqm Pack
What's in the Box
- 📦 12 tiles per box
- 📐 Each tile: 530mm x 610mm x 50mm thick
- 📏 Coverage per box: 2.88 m²
Couldn't load pickup availability
How many packs do you need?
Enter your room dimensions and we'll calculate the exact number of packs, singles, and adhesive for your space.
Takes less than 60 seconds · adds everything to your cart
What These Panels Protect
- ✅ Walls and ceiling from direct ball strikes
- ✅ Reduces ball rebound and noise in the room
- ✅ Protects against repeated impact over time
Installation in 3 Simple Steps
Complete Your Kit
Don't forget the adhesive — panels won't stay put without it.
💡 Not sure how many tins? The Panel Calculator works it out for you and adds everything to your cart.
Why Hexagons Work for Side Walls & Ceiling
Hexagon panels are popular when you want your simulator room to look as good as it performs. The honeycomb layout creates a premium finish on side walls and can look especially sharp on ceiling sections. A full bay install with hexagons creates a striking, professional aesthetic across the entire protected zone.
Layout and Alignment for Hexagons
Hexagons need a little more planning than squares/rectangles. A simple approach is to: Mark a centre line on the wall section you're covering Build outward symmetrically so the pattern stays balanced Keep the row offsets consistent so the honeycomb pattern looks intentional For the cleanest finish, keep tiles tight together so the edges meet neatly.
Installation Technique for Hexagon Panels
Because of the angled edges, take a moment to line up each tile before pressing it into place. Apply the recommended spray adhesive evenly, then press firmly across the full surface so the tile bonds flat.
Hexagon Panel FAQs
- Q: Can I trim hexagon panels for edges?
A: Yes, but it takes a bit more care. For edge pieces, take your time and use a sharp blade. - Q: Should I mix hexagons with other tile sizes on the same wall?
A: For a clean, professional look, it's best to keep one tile size per surface. If you want a mixed look, use different tiles on different surfaces (e.g., hexagons on the wall, squares on the ceiling). - Q: How do I calculate coverage for a full bay?
A: Measure both side walls and your ceiling zone, then use the Panel Calculator to get exact quantities.
Shipping Information
Shipping Information
Your order will be delivered in 100% recyclable packaging, uncompressed and ready for immediate installation. We stock all products for quick dispatch and offer same-day shipping on orders placed before 2 pm, ensuring next-day delivery. As a UK-based company, we provide swift and efficient customer service.
Installation
Installation
Installation is hassle-free with our recommended spray adhesive, ensuring a clean and stress-free setup. The panels are also easy to trim to size for a perfect fit.
Returns
Returns
Order with confidence from Advanced Sims, knowing that we uphold the highest standards. If for any reason you’re not completely satisfied, return your products within 30 days in their original packaging and unused condition for a full refund.